- Why Use a Timeline in Google Slides?
- Method 1: Create a Timeline Using the Built-in Diagram Tool
- Method 2: Create a Timeline Using Shapes
- Method 3: Use a Google Slides Timeline Template
- 3 Ready-to-Use Google Slides Timeline Templates
- Best Practices for Creating a Timeline in Google Slides
- When to Use Timelines in Presentations
- Conclusion
- Frequently Asked questions
How to Create a Timeline in Google Slides (Step-by-Step Guide)

- Why Use a Timeline in Google Slides?
- Method 1: Create a Timeline Using the Built-in Diagram Tool
- Method 2: Create a Timeline Using Shapes
- Method 3: Use a Google Slides Timeline Template
- 3 Ready-to-Use Google Slides Timeline Templates
- Best Practices for Creating a Timeline in Google Slides
- When to Use Timelines in Presentations
- Conclusion
- Frequently Asked questions

Timelines are one of the best ways to present events, processes, or project milestones in a clear visual format. Whether you’re preparing a business presentation, a school project, or a history report, learning how to create a timeline in Google Slides can make your content far more engaging and easy to understand.
The good news? You don’t need design skills to build a professional-looking timeline.
In this step-by-step guide, you’ll learn multiple ways to create a timeline in Google Slides — including built-in diagrams, shapes, and templates.
Why Use a Timeline in Google Slides?
A timeline helps audiences quickly understand chronological information. Instead of long paragraphs, timelines visually display key moments.
Common use cases include:
- Project milestones
- Company history
- Historical events
- Product development stages
- Marketing campaigns
- Educational lessons
Benefits of using timelines in presentations:
- Easier to follow than text-heavy slides
- Improves visual storytelling
- Highlights key milestones clearly
- Makes presentations more engaging
Method 1: Create a Timeline Using the Built-in Diagram Tool
Google Slides has a built-in diagram feature that allows you to quickly generate timeline layouts.
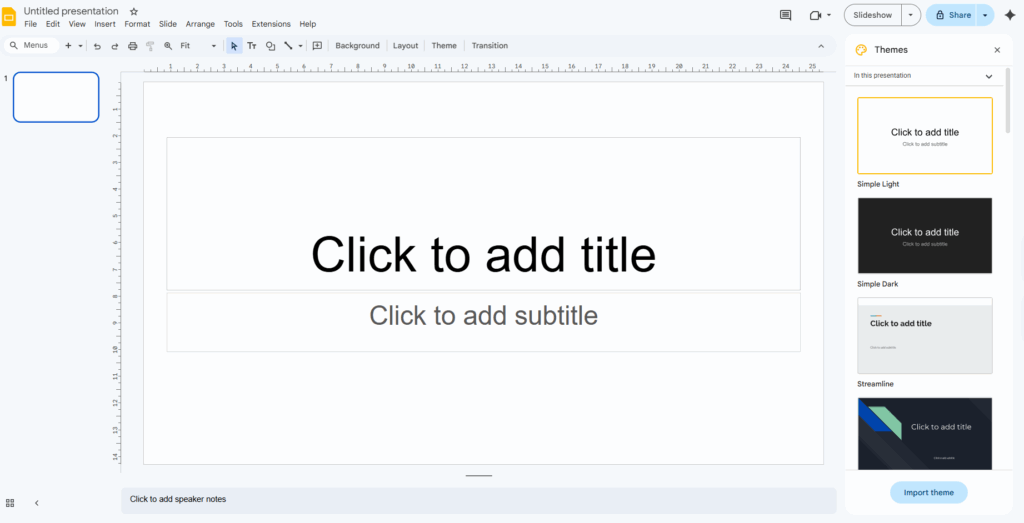
Step 1: Open Google Slides
Go to Google Slides and open an existing presentation or create a new one.
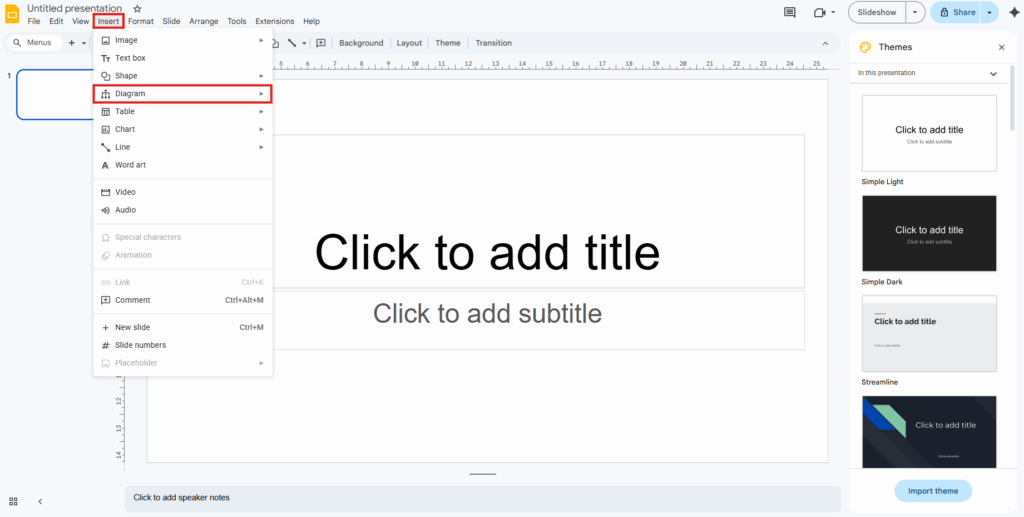
Step 2: Insert a Diagram
- Click Insert in the top menu
- Select Diagram
A panel will open on the right side.
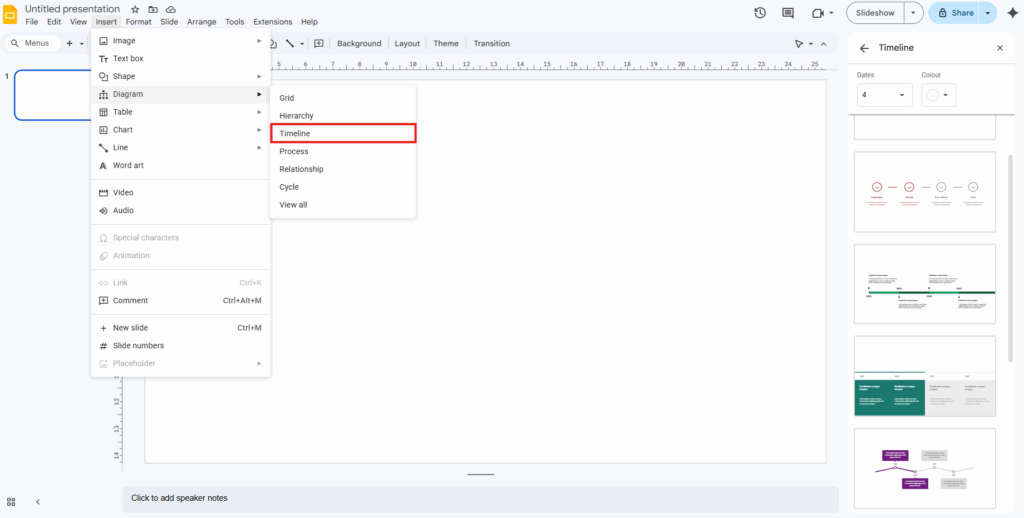
Step 3: Choose Timeline
Inside the diagram panel:
- Select Timeline
- Choose a style you like
- Adjust the number of dates or steps
- Select a color theme
Google Slides will automatically insert the timeline into your slide.
Step 4: Edit the Timeline
You can customize the text by clicking on each placeholder.
Add:
- Dates
- Events
- Milestones
- Descriptions
This method is the fastest way to create a timeline in Google Slides.

Method 2: Create a Timeline Using Shapes
If you want more design control, you can build a custom timeline using shapes.
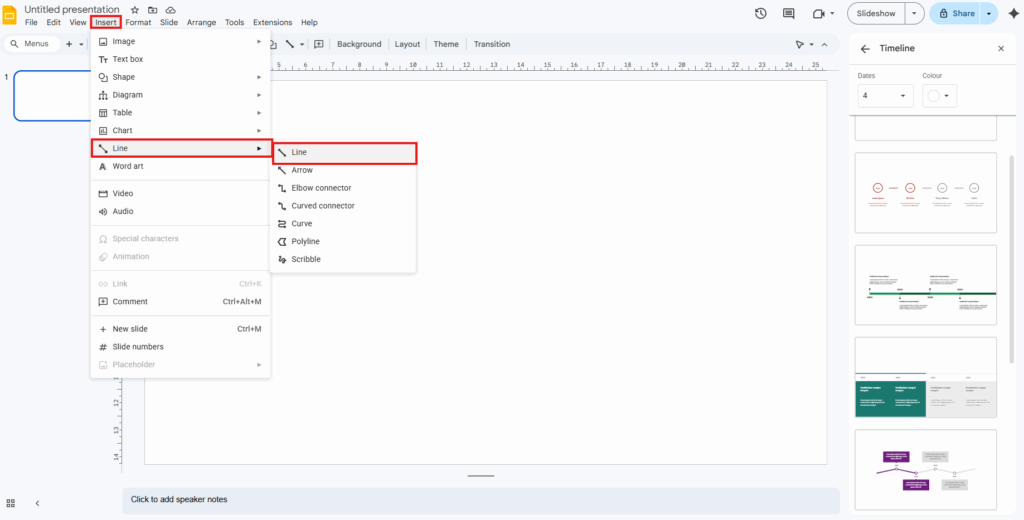
Step 1: Insert a Line
- Click Insert → Line
- Choose Line
- Draw a horizontal line across your slide
This will serve as the base of your timeline.
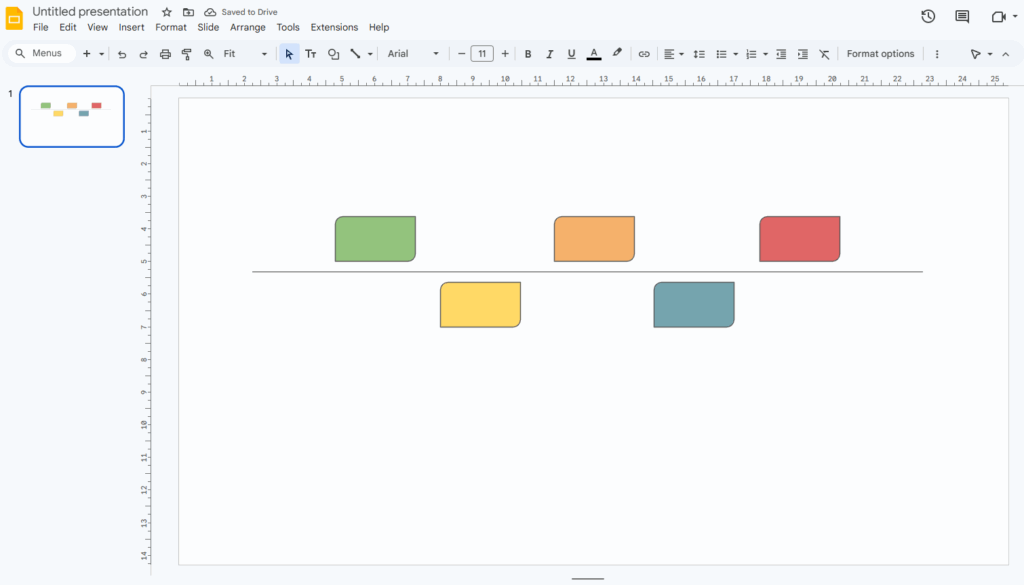
Step 2: Add Milestone Markers
Insert shapes to represent events.
- Click Insert → Shape
- Choose circles or rectangles
- Place them along the line
These represent timeline points.
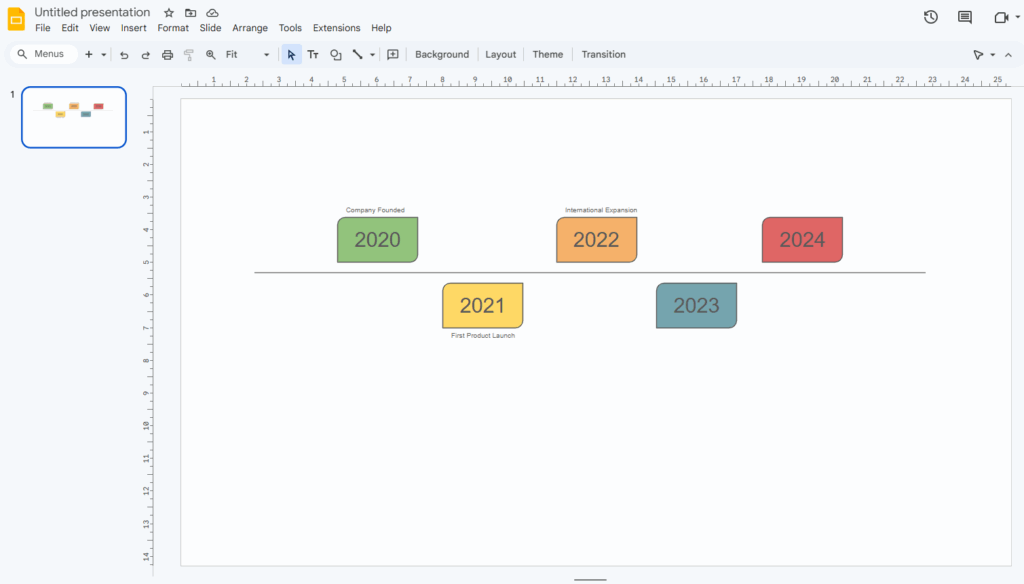
Step 3: Add Text Boxes
Now add descriptions.
- Click Insert → Text box
- Place text above or below each marker
- Add the date and event description
Example:
- 2019 — Company Founded
- 2021 — First Product Launch
- 2023 — International Expansion
Step 4: Customize Design
Improve the visual appeal by:
- Changing colors
- Adding icons
- Adjusting fonts
- Using consistent spacing
This method works great for creative or branded presentations.
Method 3: Use a Google Slides Timeline Template
Another quick way to create timelines is by using pre-designed templates.
Where to Find Templates
You can search for:
- Google Slides timeline templates
- Presentation timeline templates
- Project timeline slides
Templates often include:
- Professional layouts
- Icons and graphics
- Pre-aligned elements
- Editable placeholders
After downloading a template:
- Upload it to Google Slides
- Replace the placeholder text
- Adjust colors to match your brand
Templates are ideal for business presentations and reports.
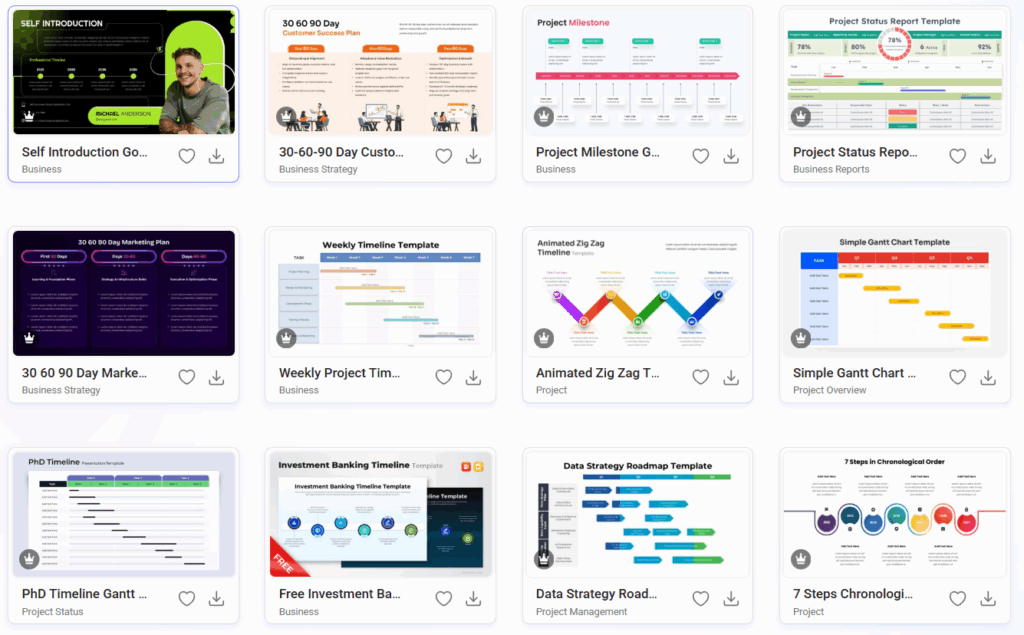
3 Ready-to-Use Google Slides Timeline Templates
If you want to save time designing slides from scratch, using a ready-made Google Slides timeline template is the easiest solution. Pre-designed templates help you create professional timelines in minutes while maintaining clean layouts and visual consistency.
Below are three timeline templates from our template library that you can quickly customize for presentations, projects, or reports.
1.Free Timeline Slide Template
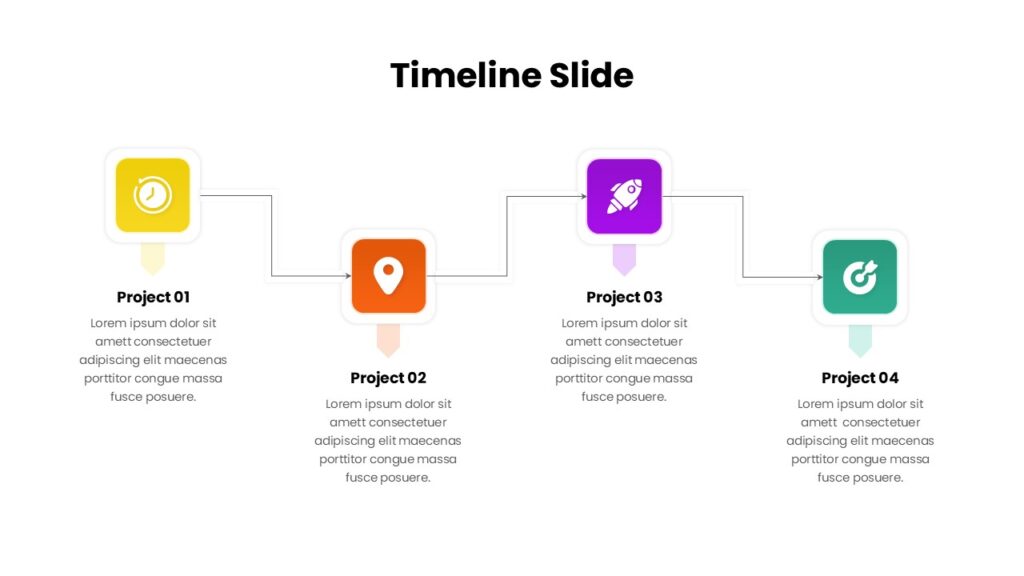
This Timeline presentation slide displays a horizontal project timeline with four structured milestone sections labeled Project 01 through Project 04. Each step is represented with a colored icon block and connected by a continuous line indicating progression across stages. The layout uses distinct color segmentation for each milestone, supporting quick visual understanding of project phases. Text placeholders provide space for concise descriptions under each step. This Timeline Slide is fully editable in both PowerPoint and Google Slides, making it ideal for business presentations, project planning, and roadmap storytelling.
2. Five Year Horizontal Timeline Template
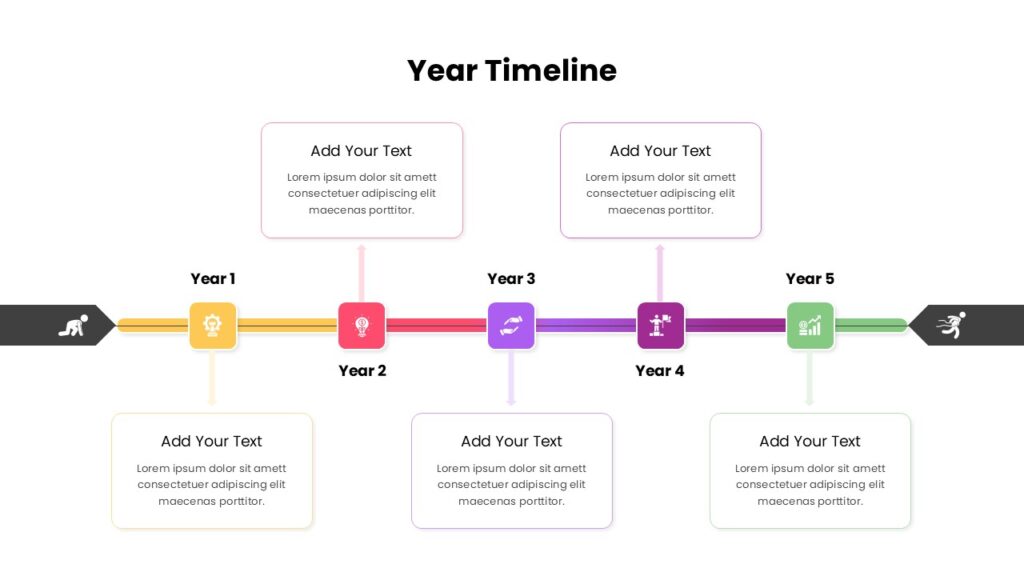
5 Year Timeline Template presents a structured five-year roadmap arranged along a horizontal timeline. Each milestone from Year 1 to Year 5 is represented by a colored icon block connected through segmented timeline bars that visually indicate progression. Above and below the timeline are organized content boxes for adding descriptions, helping present key achievements, strategies, or milestones. The design uses clear color segmentation and balanced content areas to improve readability and storytelling. This Year Timeline slide is fully editable in both PowerPoint and Google Slides for professional presentations.
3.PhD Timeline Gantt Chart Planning Template
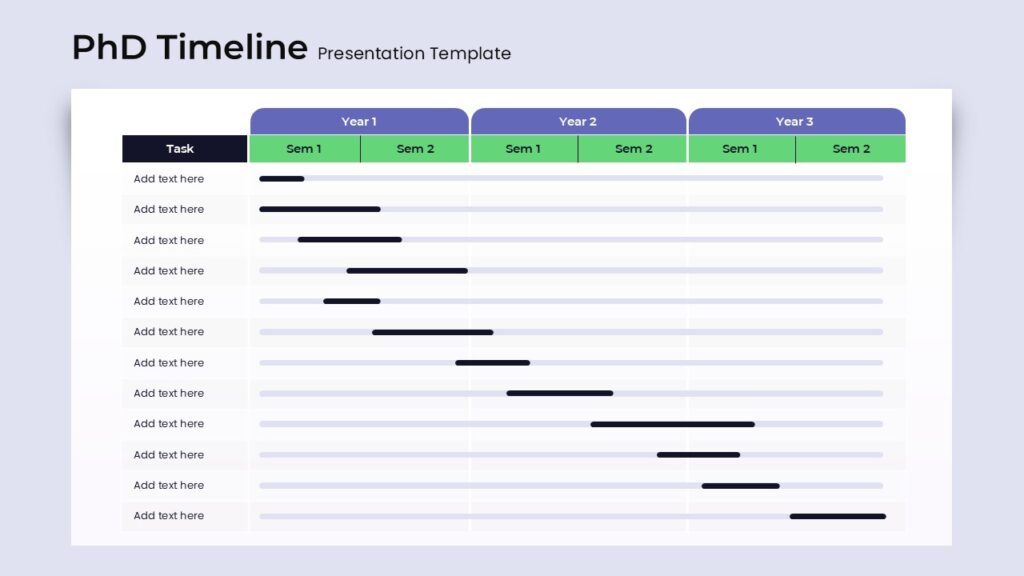
PhD Timeline Gantt Chart Planning Template presents a structured academic roadmap designed to track doctoral research progress across three years. The layout organizes tasks in rows while columns represent Year 1, Year 2, and Year 3, each divided into Semester 1 and Semester 2 segments. Horizontal progress bars illustrate when each task occurs within the timeline, making it easy to visualize research phases, milestones, and workload distribution. The design features clear color segmentation and structured content areas for tasks and timelines. This PhD Timeline presentation slide is fully editable in both PowerPoint and Google Slides for academic planning and research presentations.
Best Practices for Creating a Timeline in Google Slides
To make your timeline clear and visually appealing, follow these tips.
1. Keep It Simple
Avoid adding too many events. A crowded timeline becomes hard to read.
Aim for 5–7 milestones per slide.
2. Use Consistent Spacing
Even spacing makes the timeline look professional and organized.
3. Use Colors to Highlight Milestones
Color can help emphasize important events such as:
- Product launches
- Major achievements
- Key project phases
4. Add Icons for Visual Interest
Icons help viewers quickly understand each milestone.
Examples:
- Rocket → product launch
- Trophy → achievement
- Globe → global expansion
5. Use Clear Dates
Always include clear time indicators such as:
- Months
- Years
- Specific project phases
Common Mistakes to Avoid
Many presentations fail because timelines are poorly designed. Avoid these common issues.
- Overloading the Timeline
Too many events make the slide overwhelming.
- Using Tiny Text
Your audience must be able to read the timeline from a distance.
- Poor Alignment
Misaligned shapes or text boxes make the slide look messy.
- Inconsistent Colors
Stick to 2–3 colors for a clean design.
When to Use Timelines in Presentations
Timelines are useful in many professional and academic situations.
Business Presentations
- Project planning
- Product development roadmap
- Company growth story
Education
- Historical events
- Scientific discoveries
- Literature timelines
Marketing
- Campaign timeline
- Product launch schedule
Project Management
- Milestones
- Deliverables
- Deadlines
Conclusion
Learning how to create a timeline in Google Slides is a simple yet powerful way to improve your presentations. Timelines help organize information visually, making complex sequences easy for audiences to understand.
You can create timelines in Google Slides using:
- Built-in diagram tools
- Custom shapes and lines
- Pre-designed templates
The best approach depends on how much customization you need. For quick presentations, use the diagram feature. For unique designs, build your own timeline using shapes.
With clear milestones, consistent design, and a simple layout, your timeline will make your presentation more engaging and professional.
Frequently Asked questions
A: The fastest way is to use Insert → Diagram → Timeline. Google Slides automatically generates a timeline layout that you can edit.
A: Yes. You can animate timeline elements using Insert → Animation to reveal milestones one by one during a presentation.
A: Yes. Many websites offer free Google Slides templates that include timeline layouts you can edit and customize.
A: For readability, a single slide should typically contain 5–7 events.
A: Yes. Instead of drawing a horizontal line, draw a vertical line and place events along it.
Related Articles
 February 4th, 2026
How to Make Google Slides Look Good: Tips To Follow
Google Slides Tutorials- February 20th, 2026
How to Create a Pitch Deck in Google Slides: Step-by-Step Guide
Google Slides Tutorials - February 6th, 2026
How to Record on Google Slides
Google Slides Tutorials