
Creating presentations no longer needs advanced software or complex design knowledge. Google Slides makes it possible to build clear, professional presentations directly from a web browser in just a few minutes. Whether you are preparing slides for a meeting, classroom session, pitch, or report, understanding how to use Google Slides can help you work faster while maintaining quality.
This guide explains the complete process of creating a presentation using Google Slides, from opening a blank file to delivering and exporting your final slides. If your goal is speed without sacrificing clarity or structure, this step-by-step article will walk you through everything you need to know.
What Is Google Slides?
Google Slides is an online presentation tool developed by Google as part of Google Workspace. It allows users to create, edit, present, and collaborate on slide decks entirely online. Since files are stored in the cloud, changes are saved automatically, and presentations can be accessed from any device.
The platform supports real-time collaboration, works smoothly with PowerPoint files, and offers built-in design and formatting tools that are simple to use. These features make Google Slides suitable for individuals, teams, educators, and businesses.
How to Use Google Slides – Step by Step Guide
This section explains how to create a presentation from start to finish using Google Slides.
Step 1: Open Google Slides
Step 2: Understand the Workspace
Step 3: Create a Clear Slide Structure
Step 4: Add and Format Text Content
Step 5: Insert Visual Elements
Step 6: Apply Themes and Slide Backgrounds
Step 7: Add Transitions and Animations Carefully
Step 8: Use Speaker Notes and Presenter View
Step 9: Collaborate and Share
Step 10: Present and Export Your Slides
Step 1: Open Google Slides
Start by signing into your Google account.
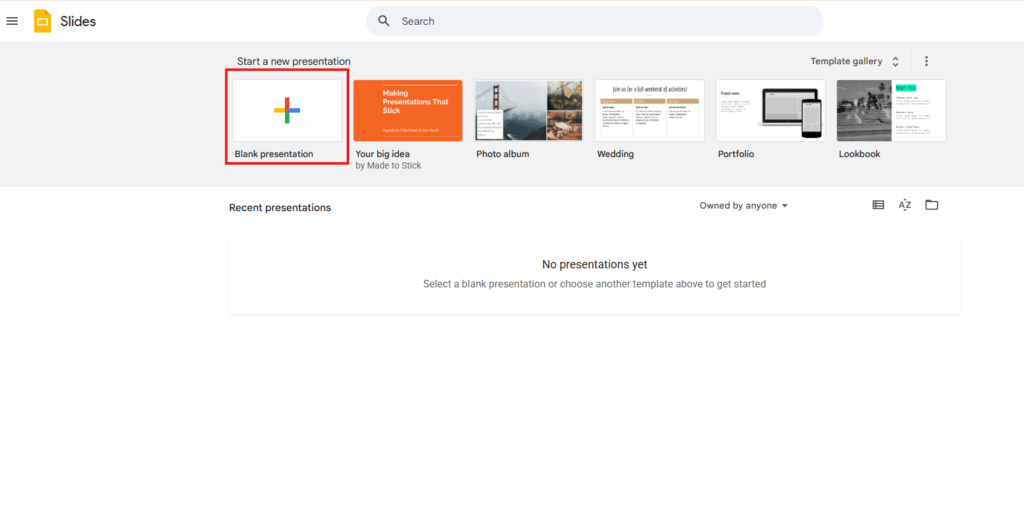
- Open your browser and go to Google Slides
- Click Blank to start a new presentation
- A new slide deck opens automatically
You are now inside the Google Slides editor.
Step 2: Understand the Workspace
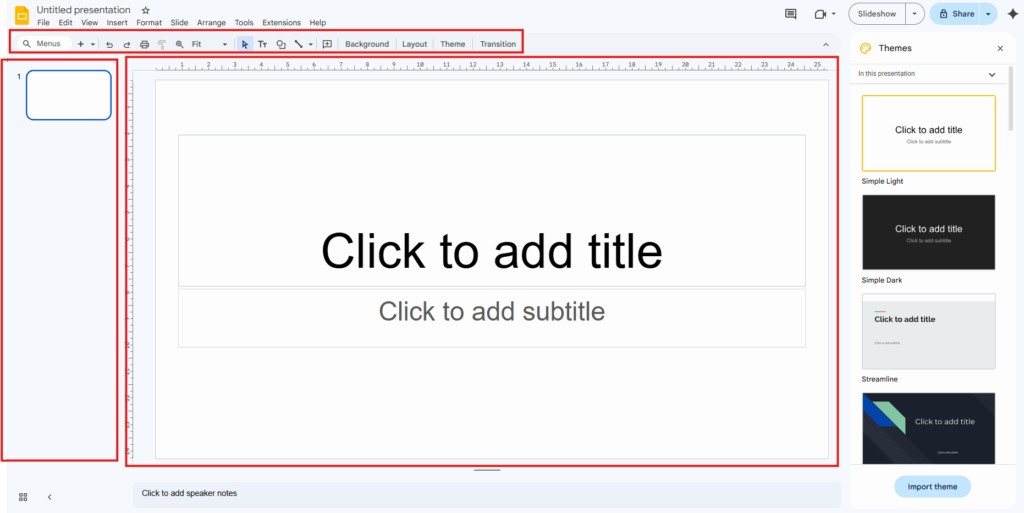
The editor is divided into three main areas:
- Slide panel (left): Displays all slides in sequence
- Main canvas (center): Where content is added and edited
- Toolbar (top): Contains formatting, insert, and layout tools
Understanding this layout helps you move faster as you build slides.
Step 3: Create a Clear Slide Structure
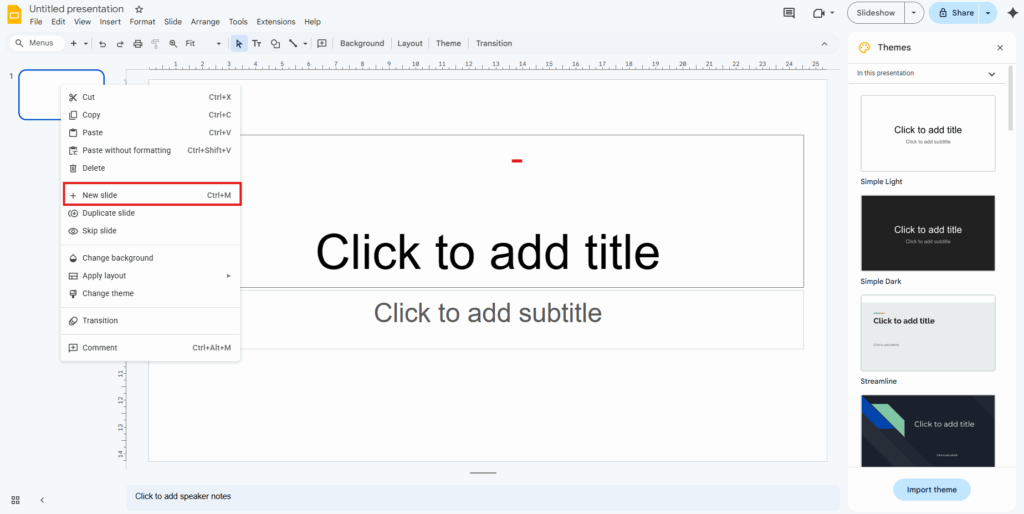
A strong presentation follows a logical flow.
- Begin with a title slide
- Add an introduction or agenda slide
- Break content into sections
- Use one main idea per slide
- End with a conclusion or next steps slide
To add a new slide, click the plus (+) icon or use the keyboard shortcut.
Step 4: Add and Format Text Content
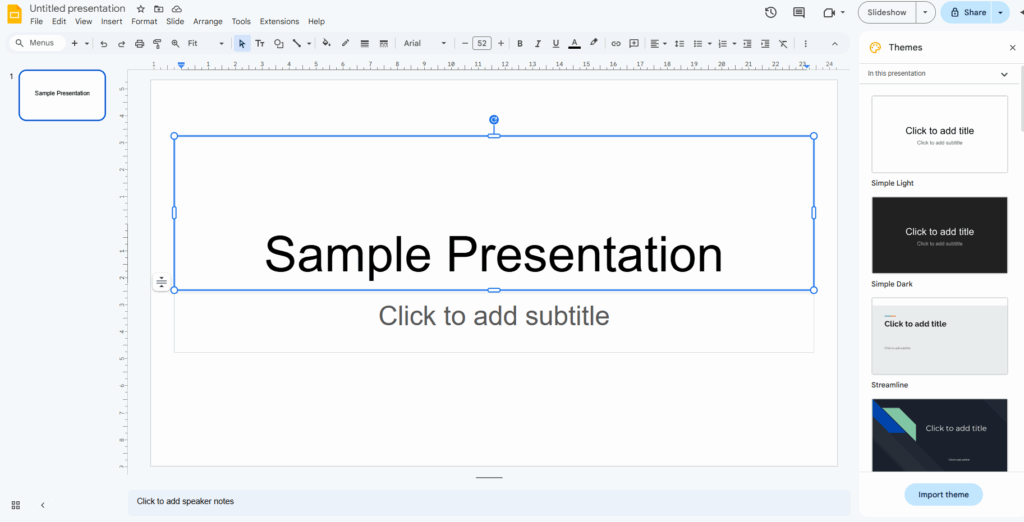
Click on a text box to start typing.
Best practices for text:
- Keep sentences short
- Avoid overcrowding slides
- Use headings and bullet points
- Maintain consistent font size and style
You can adjust font type, size, alignment, and spacing using the toolbar to improve readability.
Step 5: Insert Visual Elements

Visuals make slides easier to understand and more engaging.
You can insert:
- Images from your computer or the web
- Charts linked to Google Sheets
- Shapes and icons
- Diagrams and tables
Use visuals to support your message, not replace it.
Step 6: Apply Themes and Slide Backgrounds
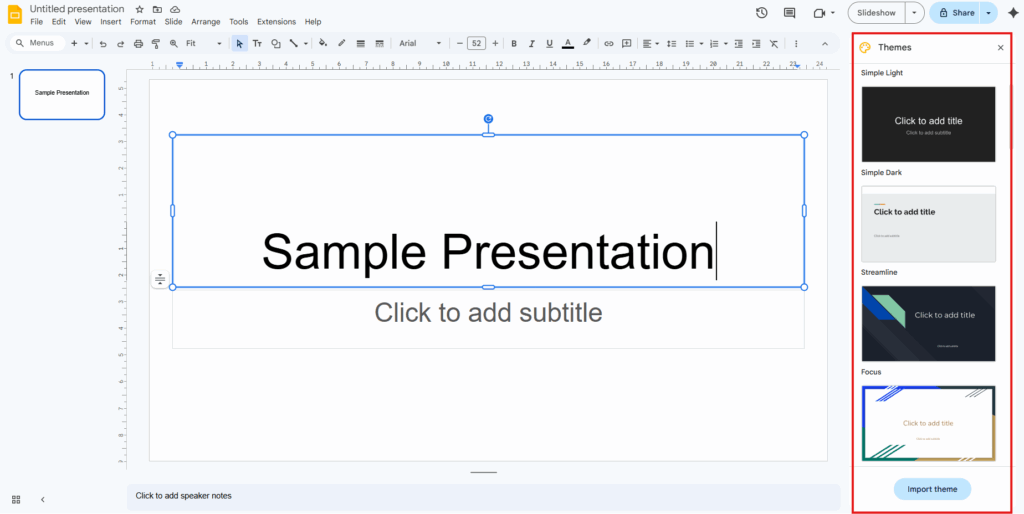
Themes control the overall design of your presentation.
- Click Theme on the right panel
- Select a theme that matches your topic
- Apply it across all slides
You can also customize slide backgrounds using colors or images to create visual consistency.
Step 7: Add Transitions and Animations Carefully
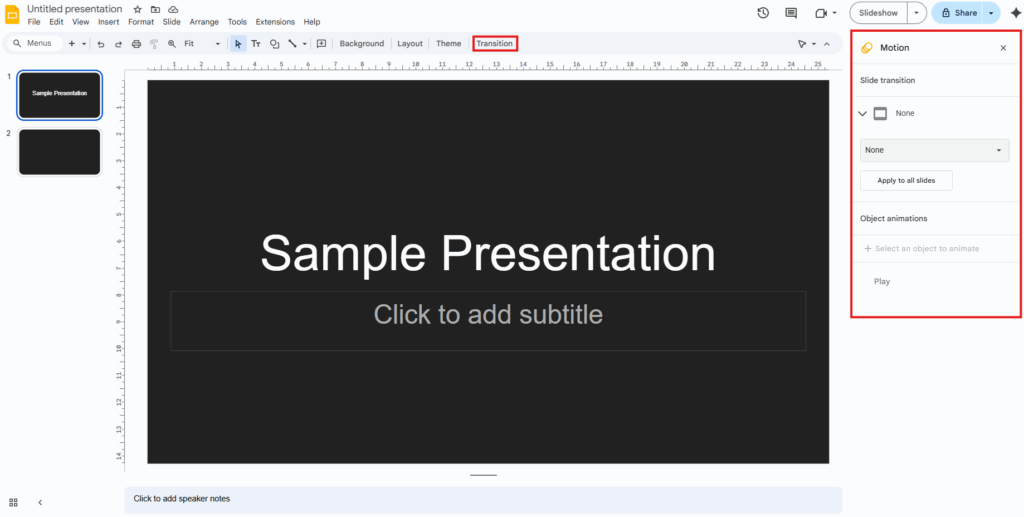
Transitions help slides flow smoothly.
- Open Transition from the toolbar
- Choose simple effects such as fade or dissolve
- Apply animations only where they add clarity
Minimal motion keeps the presentation professional.
Step 8: Use Speaker Notes and Presenter View
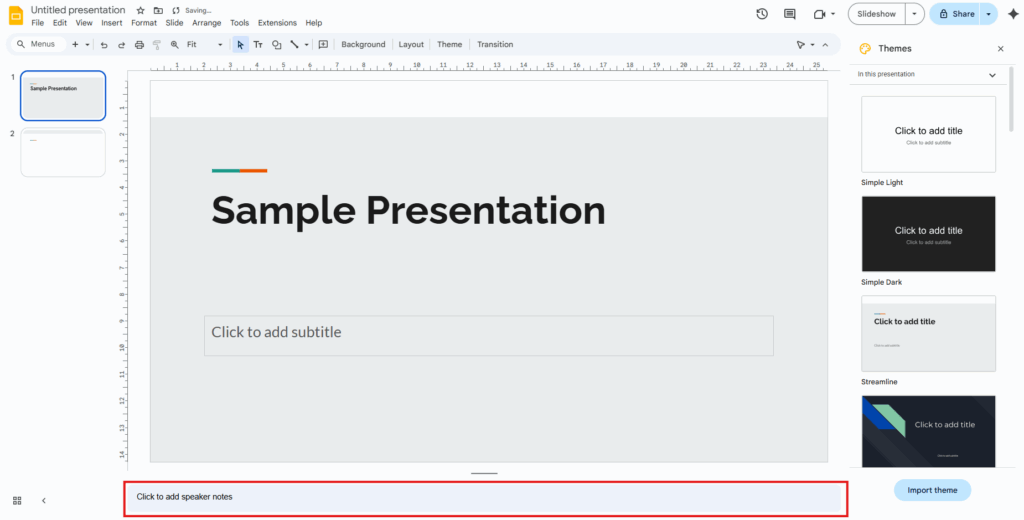
Speaker notes help guide your delivery without cluttering slides.
- Add notes below each slide
- Use Presenter View to see notes, time, and upcoming slides
- Practice for smooth pacing
This feature is especially useful for live presentations.
Step 9: Collaborate and Share
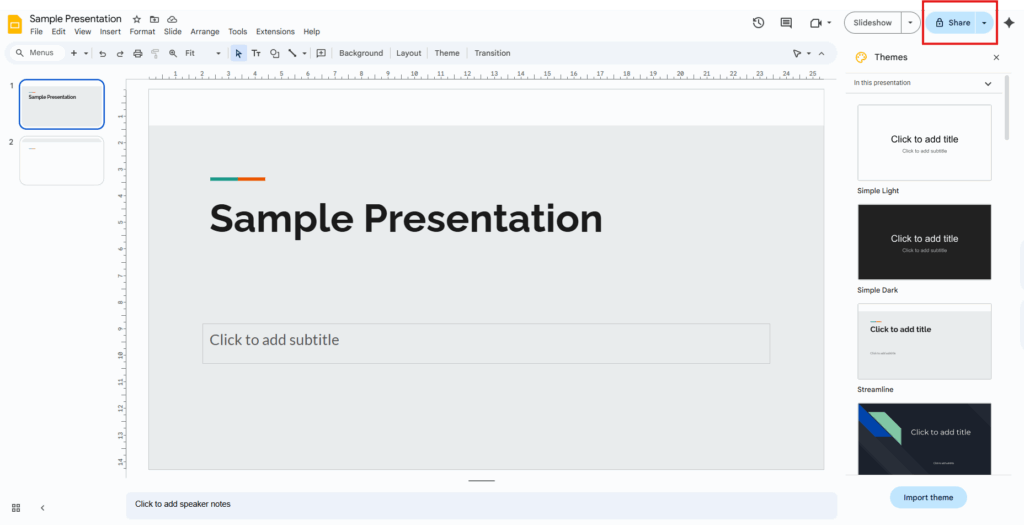
Google Slides allows multiple people to work on the same presentation.
- Click Share
- Enter email addresses or generate a link
- Assign view, comment, or edit access
Edits appear instantly, making teamwork efficient.
Step 10: Present and Export Your Slides
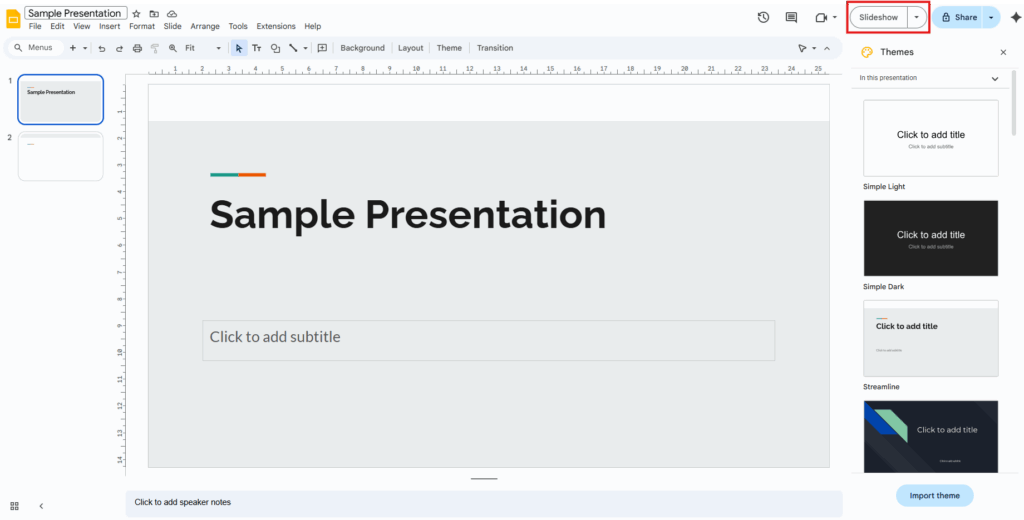
Once finished:
- Click Present for full-screen delivery
- Navigate slides using keyboard shortcuts
- Export slides as PDF or PowerPoint if needed
Your presentation is now ready to share or deliver.
Downloadable Google Slides Templates
Creating slides from scratch works well, but downloadable Google Slides templates can significantly reduce preparation time.
Google Slides includes built-in templates, but many external websites like SlidesGo, SlideModel and SlidePick also provide ready-made Google Slides templates for business, education, marketing, and creative use. These templates are designed by professionals and follow modern layout and design standards.
What Are Downloadable Google Slides Templates?
Downloadable templates are pre-designed slide decks that include layouts, colors, fonts, icons, and placeholders. You simply replace the sample content with your own text and visuals.
Many websites offer:
- Business pitch decks
- Company profile presentations
- Infographics and diagrams
- Educational and training slides
- Portfolio and proposal templates
Benefits of Using Ready-Made Templates
Using Google Slides templates offers several advantages:
- Saves time on design and formatting
- Maintains visual consistency
- Reduces layout errors
- Helps non-designers create professional slides
- Allows faster turnaround for urgent presentations
Templates are especially helpful for recurring presentations or brand-aligned content.
How to Use Downloaded Google Slides Templates
- Download the template file
- Upload it to Google Drive
- Open it with Google Slides
- Replace text, images, and charts
- Customize colors if needed
The structure remains intact while your content takes center stage.
Final Thoughts
Knowing how to use Google Slides effectively allows you to create presentations quickly without compromising clarity or professionalism. From organizing slides and adding visuals to collaborating and presenting, Google Slides offers a complete workflow in one platform.
When combined with downloadable Google Slides templates, the process becomes even faster and more efficient. Whether you are working alone or with a team, mastering Google Slides gives you a reliable way to communicate ideas clearly and confidently through presentations.
Frequently Asked Questions
1. What is Google Slides used for?
2. Do I need to install software to use Google Slides?
3. How do I create a presentation in Google Slides?
4. Can Google Slides open PowerPoint files?
Related Articles
 February 14th, 2026
How To Add Music Audio To Google Slides
Google Slides Tutorials- February 20th, 2026
How to Create a Pitch Deck in Google Slides: Step-by-Step Guide
Google Slides Tutorials - February 4th, 2026
How to Make Google Slides Look Good: Tips To Follow
Google Slides Tutorials